For a puzzle class I’m auditing, my group is working on a branch of a puzzle hunt. For part of our last puzzle, we needed a standalone executable that wouldn’t need to be installed directly on the machine. Sure, we had a standard Unity build for Windows and we could have linked directly to the executable, but this particular program needed to be added manually on 12+ computers.
To shorten the setup time for the day the puzzle hunt ran, I searched for a way to make a portable version of the program that could just be dragged-and-dropped on the machines. I started with 7-Zip but found that what I wanted was already built into WinRAR, which is what we’re using in this tutorial. (And I’m using a Windows PC.)
So once you’ve got a working Unity build, let’s get to it!
Unity Build + WinRAR = Standalone Executable
Download WinRAR.
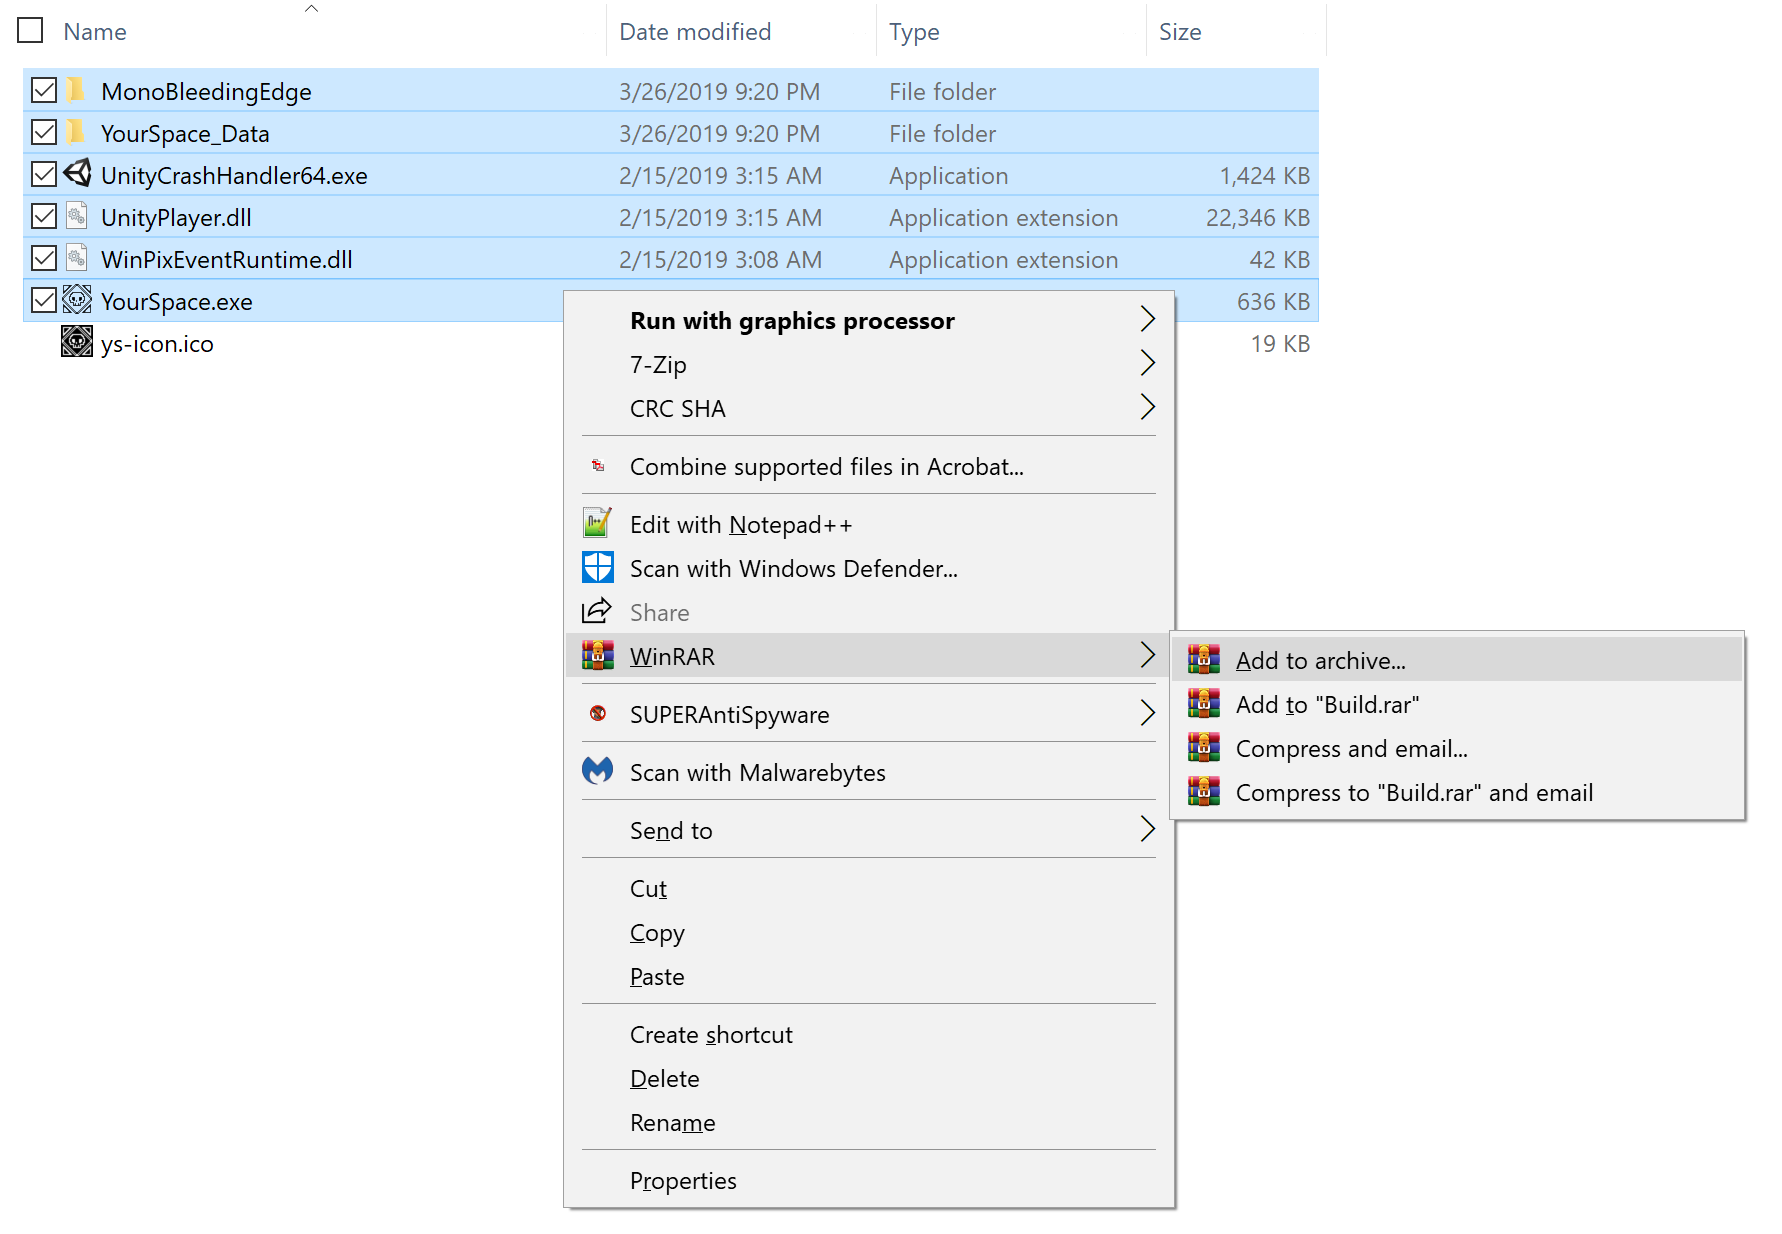
Select all the build files and right-click. Click “Add to archive…” in the context menu. (If you are adding a custom icon, you do not need to include it at this time.)
![]()
In the dialogue box under Archive name, write whatever name you prefer for the resulting file. Under compression method, choose “Best” and then check the “Create SFX archive” box.
![]()
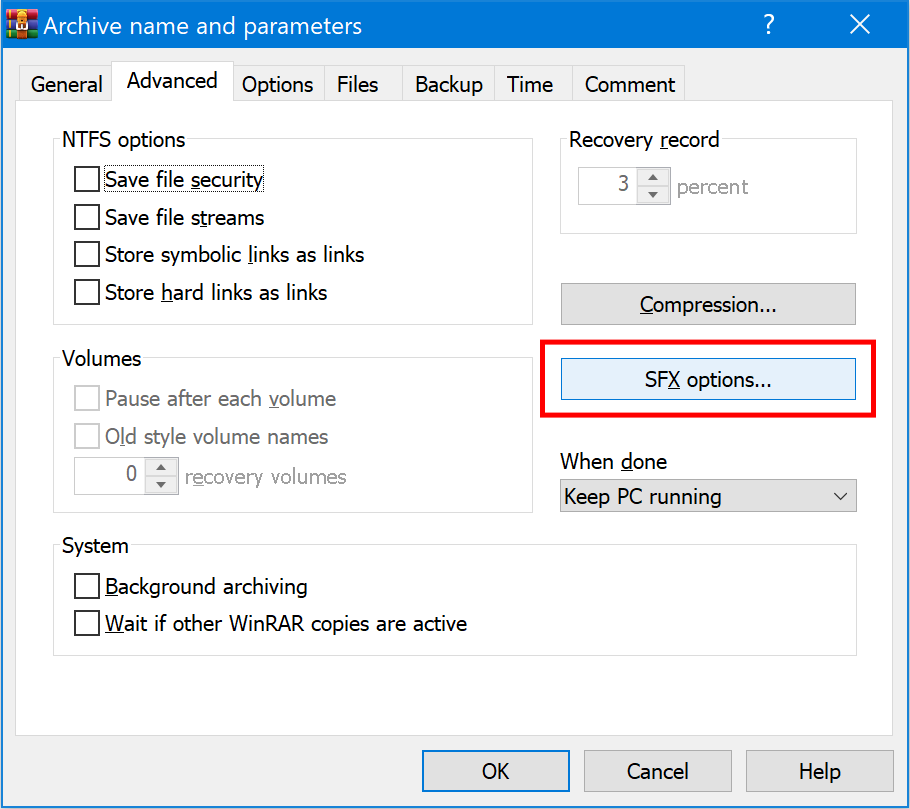
NOTE: checking the box may change the archive name to “YourGame.sfx.exe”. Don’t worry about it for now.Go to the “Advanced” tab and click “SFX Options…”.
![]()
Under the “Setup” tab, type the name of the build exe under “Run after extraction”.
![]()
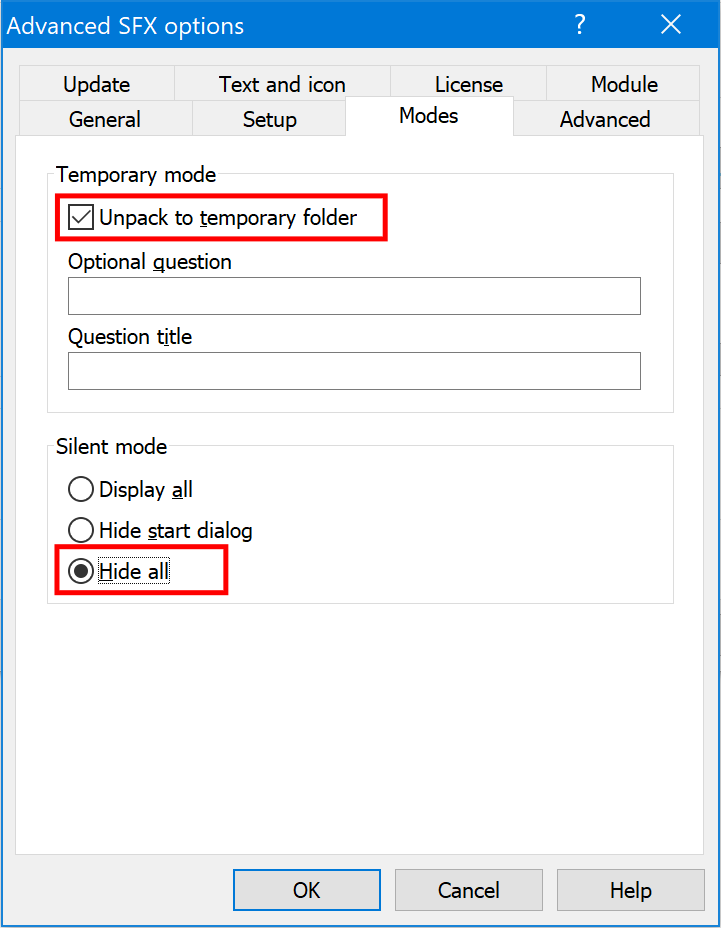
Under “Modes”, check “Unpack to temporary folder”. In the “Silent mode” section, check “Hide all”.
![]()
Go to “Update” and then under “Overwrite mode”, choose “Overwrite all files”
![]()
If you want a custom icon, go to the “Text and icon” tab. Browse for your chosen icon under “Load SFX icon from the file”.
![]()
Hit OK to close out the context menus. WinRAR should generate an application file.
![]()
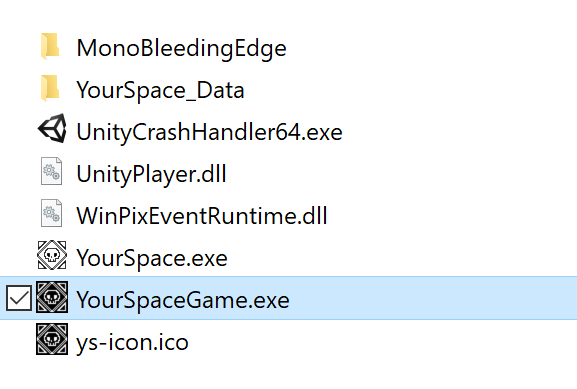
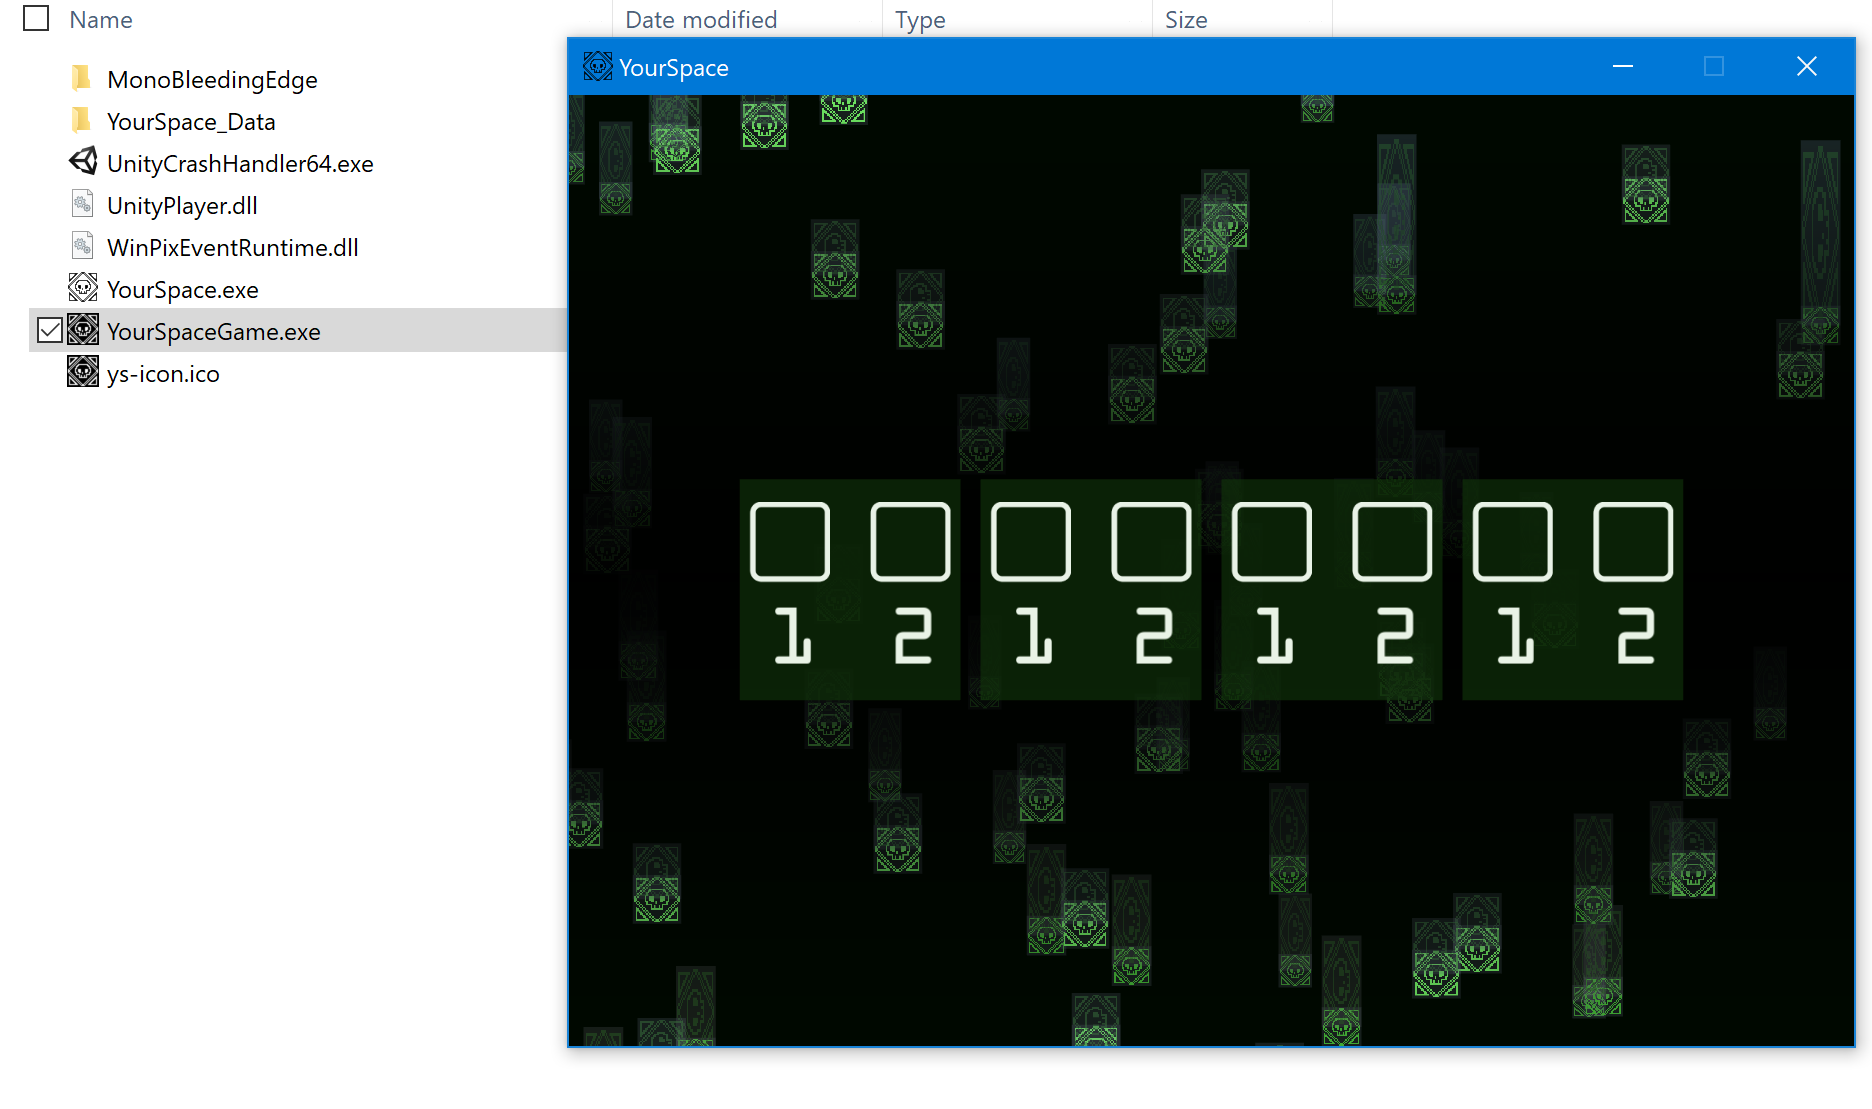
Rename the file to “YourGame.exe” if it changed in step 3 and you’re done!
![]()


NOTE: Starting a game file created with this method will take a few seconds longer than a standard installation. I recommend this for testing and the like, and not for an executable you plan on selling.